
High Performance AMP Blog with Jekyll - Part 2
In this series I'll show how to setup a high performance, mobile friendly AMP Blog with custom Jekyll plugins while using GitHub pages as a free hosting provider. We create a staging environment and setup an automatic deploy and testing with Travis CI.
In this article we have a look how to setup Travis CI to automatically build our Jekyll website.
The Basics - what are we talking about today?
Travis CI
Travis CI is a hosted continuous integration service, which is free to use with GitHub open-source repositories. If changes are committed to an repository, it will start a virtual machine and executes our defined automation steps. We’ll use it to test our code and deploy the live website into production. This has many advantages, we can avoid to publish broken code, we can push changes into a staging environment to not go online but be available for review and last but not least it enables us to run custom code which allows to install any required software / Ruby Gems/ Jekyll Plugins to build our website and therefor overcome GitHub Pages restriction of only allowing whitelisted plugins. Another side effect is that we are able make changes directly on the GitHub website or use a commit based CMS as Forestry and let Travis CI do the automated publishing.
Step 1: Enable Travis CI
One nice thing about Travis is that it does not require any additional registration, you simply can log in with your GitHub account, import your repositories with a click of a button and can get started. After activation we need to add a .travis.yml file which specifies our build environment and allows us to define the steps of what should be done when a commit to our repository appears. So let’s get started.
Signup
First you’ll need to sign up or sign in to https://travis-ci.org with your GitHub credentials.


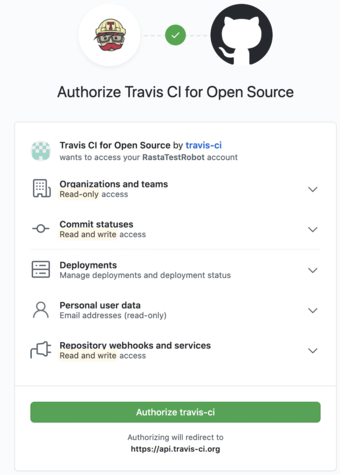
Authorize Travis CI for Open source
Now you are asked to authorize Travis, just click the green button
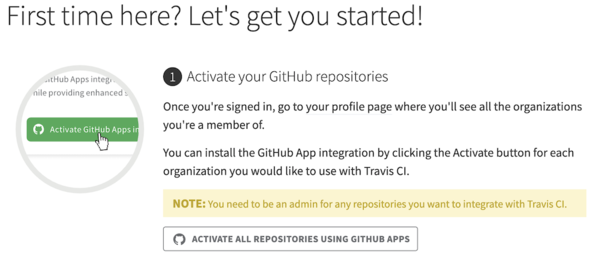
Activate your GitHub repositories
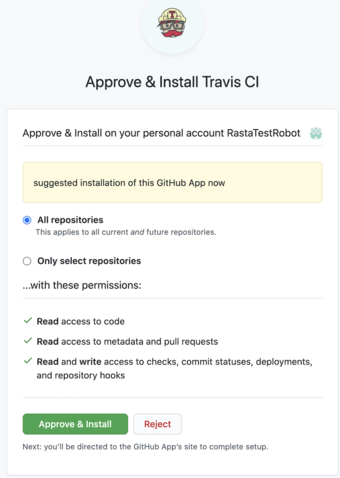
If it’s you first time here, you wont see any repositories yet. You will need to activate them first to get started. Just click Activate All Repositories Using GitHub Apps button and follow the next steps.
Now you should be able to see your repository
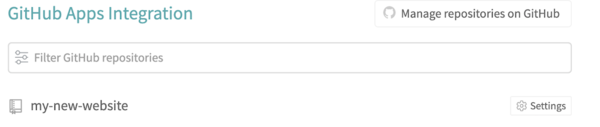
If not, press the Sync Acc button on the left.

Note: If you are a new user you’ll be most likely now on travis-ci.com, if you have a pre-existing account your repo is still on travis-ci.org. It doesn’t matter though, since open-source repositories are free in any case. Depending on which UI you are, you may need to flip a switch to activate builds.
Brilliant! we are all set now to trigger our first build.
Step 2: add a .travis.yml file
Open up the website folder in your favorite Editor and add the following .travis.yml file to the root level.
language: ruby
rvm:
- 2.6.3
dist: trusty
sudo: false
cache: bundler
notifications:
  email: false

install:
  - bundle install

script:
  - JEKYLL_ENV="production" bundle exec jekyll build
We specify that we want to build in a Ruby environment to be able to use the Ruby Gems and use the bundler, it specifies that the Operating System/ Docker Image should be Ubuntu Trusty, that we don’t require the sudo command, that the bundler is cached and that we don’t need email notifications for every single build. As a default are we still getting notified for broken builds and when a previously broken build is fixed, this is sufficient for most use-cases. If you want to know more about the notification settings, please have a look at the Travis notification documentation.
The most important parts follow when we decalare what is actually to be done in the different steps of our build after our branch was cloned. We start with the install step and tell Travis that we need to run bundle install to get all required Gems specified in our Gemfile. Once this done, we follow up with the script step where we usually test our project. In this case we are going to build our Jekyll site as a production environment, the very step we’ll need to put it online. If an error occurs in one step, the build will be stopped and we get an email to notify us that the current changes brake the code.
Step 3: Gemfile and Gemfile.lock
In the Gemfile you define your Ruby dependencies which are in our case Jekyll and its plugins. The Bundler will look into this file and install all dependencies for us. Once this is done it writes references/ versions of the installed Gems into the Gemfile.lock to keeps track what was used. This is in general a good practise to avoid version conflicts and such, in our case it creates some pitfalls though. Assuming that you don’t work with the same OS as Travis CI uses for its build, the Gemfile.lock from your local environment may breaks the build, since not exactly the same versions can be installed.
Therefor you can delete the existing Gemfile.lock (it will be newly generated everytime bundle install executes) and add it to your .gitignore file:
# file .gitignore
...
Gemfile.lock
Step 4: Run the build
Add and commit the new .tavis.yml, updated .gitignore and deleted Gemfile.lock and push it to your repository. Travis CI will pick up the commit, starting the build and execute the specified steps. To see its status and whats going on you just go to https://travis-ci.org or https://travis-ci.com watch whats going on. A basic build takes approx. 3 minutes and you’ll see the live outputs within this time span. Assuming you followed through, the build turns green and you’ll see:
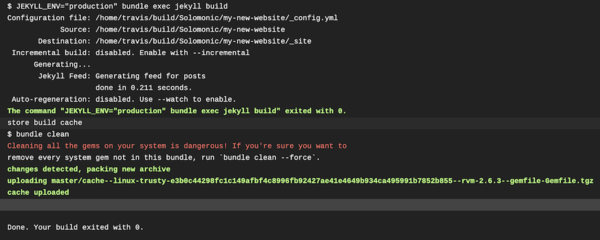
Congrats you just used a CI to build your website.
Conclusion
Of course this build won’t change anything on your live site but we have the groundworks done to turn this project into an automatically deployed environment. Please visit Part 3 to see how we configure our repository and Travis CI get stuff online instead of pushing it by ourself into the master branch.